After successfully applying for the free download you will receive an email which allows you to verify your account, after clicking the  button,
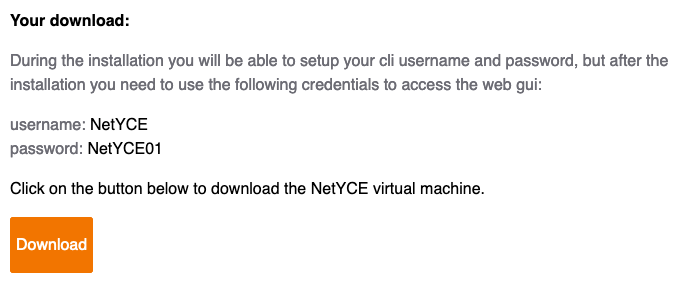
Import the VM by double clicking the .ova file, wait for the "Import Virtual Appliance" window to appear and click "Finish" or "Next" depending on which version of Virtualbox you are running

Review the terms and conditions and click “Agree” to start the import process

When you start the VM for the first time you will see the following message, hit enter to start the setup process:

Set the desired passwords for the root and yce user by entering these passwords twice:

Confirm the FQDN for the VM by hitting enter.
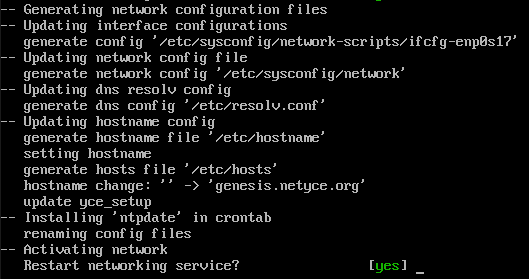
Next the current network interface setup will be shown, hit enter to start the network configuration part:
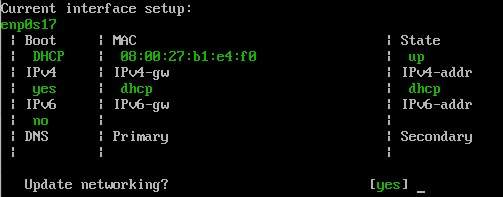
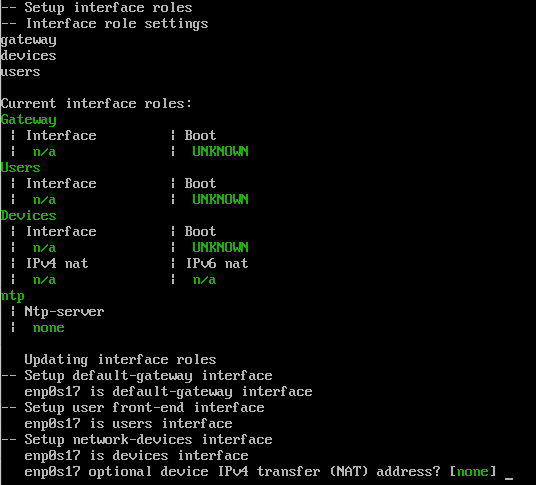
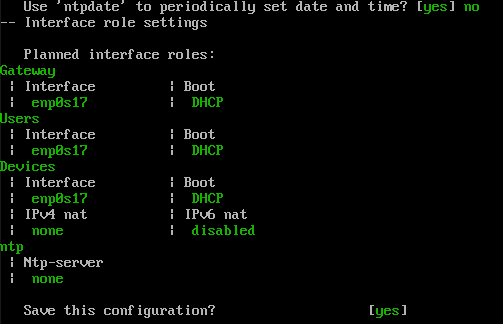
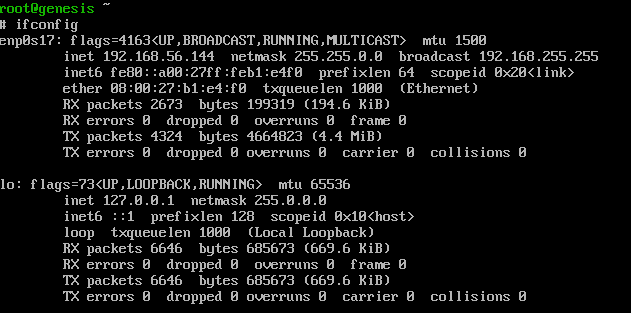
As we are setting up this VM for evaluating purposes I will stick to DHCP and only enable IPV4 on this interface: hit enter 5 times to confirm these default choices, and after the overview has been shown regarding the planned interface setup hit enter one time more to save this configuration

- VM Installation Guide https://netpicker.freshdesk.com/support/solutions/articles/201000077458-vm-installation-guide
- IP access and Permissions https://wiki.netyce.com/doku.php/guides:reference:connection_matrix
- Net_setup
https://wiki.netyce.com/doku.php/maintenance:general:tools:net_setup.pl - yce_setup
https://wiki.netyce.com/doku.php/maintenance:general:tools:yce_setup.pl - To enable SSL
https://wiki.netyce.com/doku.php/maintenance:general:tools:mk_ssl_cert.pl - High Availability
https://netpicker.freshdesk.com/support/solutions/articles/201000077837-setting-up-high-availability
Was this article helpful?
That’s Great!
Thank you for your feedback
Sorry! We couldn't be helpful
Thank you for your feedback
Feedback sent
We appreciate your effort and will try to fix the article
